Creating your own Chrome Extensions is easier than you might think—and it's a lot of fun! You can unleash your full creativity and customize websites as you like.
If you're a full-stack or frontend developer like me, you probably use popular frameworks like React, Next.js, or Vue.js. Here's the thing: you don't have to choose between building a Chrome Extension and using these frameworks—you can combine them!
You can use any frontend framework you like to build a Chrome Extension, or just go with Web Components to create your extension .
In this guide, we'll set up a simple Chrome Extension alongside a React app and load it onto any website. And yes, it's as easy as it sounds.
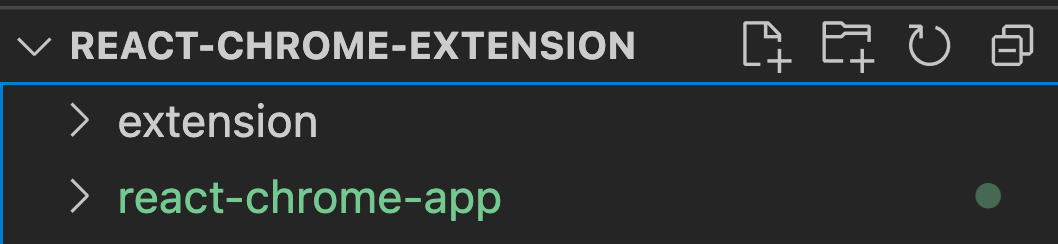
Before diving in, let's create two subfolders in our repository: extension and react-chrome-app . The extension folder will hold our Chrome extension files, while the react-chrome-app folder is where we'll build our React app.
The structure should look like this:
Chrome Extension Setup
Let’s dive right into the setup of our Chrome extension. First of all, we need to create a
manifest.json
file. We will create the file in our
extension
subfolder.
The manifest is the entry point of our extension, which defines metadata, such as name and version, as well as additional functionalities.
Create manifest.json
Let’s create a
manifest.json
and add some metadata:
The first three values
name
,
version
and
manifest_version
are sufficient to create our first chrome extension.
Install the extension
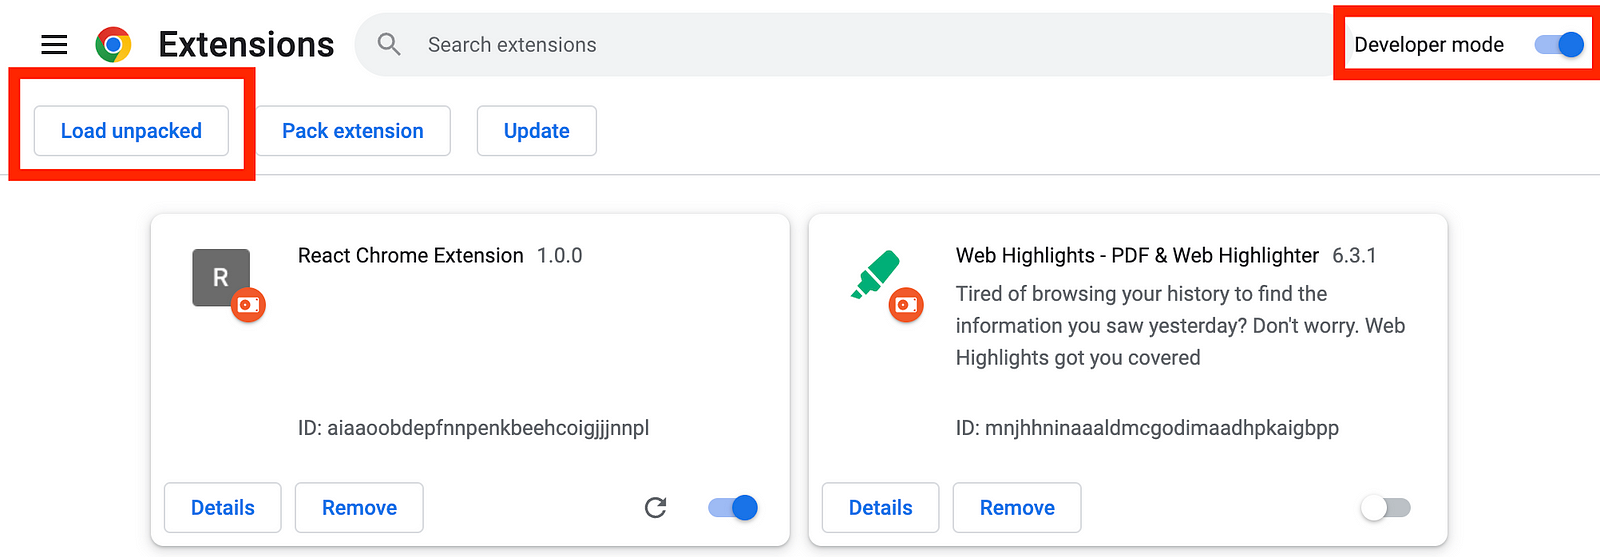
Open your Chrome browser and navigate to chrome://extensions .
Enable Developer Mode by clicking the toggle switch next to
Developer mode
. Click the
Load unpacked
button and select the
extension
directory of our repo containing our
manifest.json
.
Congratulations! You’ve just created a Chrome Extension!
Set up React application
Now, let's set up our React app in a subfolder within our repository.
We can do this by running:
npx create-react-app react-chrome-app --template typescript
or
yarn create create-react-app react-chrome-app --template typescript
Now, let’s get rid of all the unnecessary stuff. Let’s remove all CSS styles and the React template code in the
App.tsx
component. For this article, let’s put a simple
“Hello from React App”
headline
to our component:
If you want to include styles, you should use styled-components to include them in the Javascript bundle.
As we want to include the React app in our Chrome Extension, we need to configure how React sets up our application.
For that, we need to look into the
index.tsx
file:
Here we can see that React creates a React root for an element with
id="root"
. Then, the root element is used to render our React component
App.tsx
into the DOM with
render
. React assumes that the root element exists because it lives in our
index.html
file. Once the element can not be found, our application will fail.
To use our app on any website, we can not assume anymore that the root element exists. That’s why we will create our own root element programmatically before rendering the React application.
We create a new
div
element, pass our own ID, and append the HTML element as a child to the
body
of the document. Then, we can pass the
rootElement
to the
createRoot
function.
Finally, let’s create a
style
element and append it to our
rootElement
to position it on the left side of the screen. Here is what the final code in our
index.tsx
file looks like:
Include React App into Chrome Extension
In the beginning, we already installed our extension. Still, currently, it doesn’t do anything because we haven’t
added functionality to our
manifest.json
.
Create a Content Script
To add our React app from the extension to any webpage, we need a way to access the DOM and modify it.
For that, we will create a content script:
Content scripts live in an isolated world, allowing a content script to make changes to its JavaScript environment without conflicting with the page or other extensions’ content Scripts. — developer.chrome.com
For starters, let’s create a
content.js
file with an alert to ensure that our extension successfully loads the script. This file will act as our content
script.
The
content.js
script is the entry point of our extension. Let’s adjust our
manifest.json
to inject our script:
To use our statically declared
content.js
script we need to register it under the
content_scripts
field. This field needs to define the
required
attribute
matches
to specify on which pages the content script will be injected. For that, you can set several
match patterns
. We will use the special pattern
<all_urls>
to match any URL that starts with a permitted scheme- for example
http
or
https
.
We also define the optional field
js
. Here we define our scripts to be injected into matching pages.
Let’s update our extension by pressing the refresh button of the extension on
chrome://extensions
. We can now navigate to any page, and if done correctly, an alert should appear when the page is loaded.
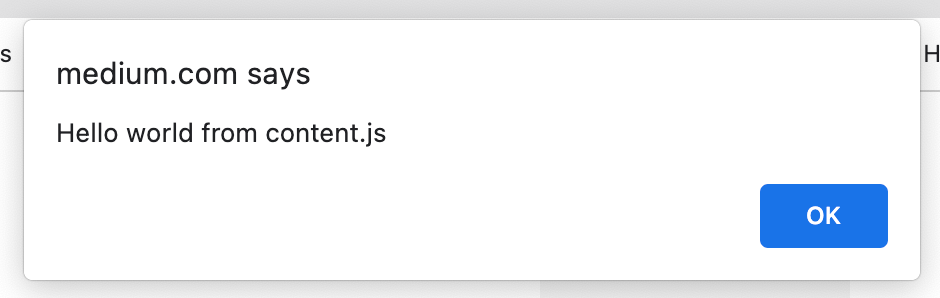
Worst Chrome Extension ever, right? Let’s move on and add React.
Create a React Content Script
Let’s build our React application running
yarn build
or
npm run build
.
You should see that the react-scripts build script generates some Javascript files in the build/static/js/ folder:
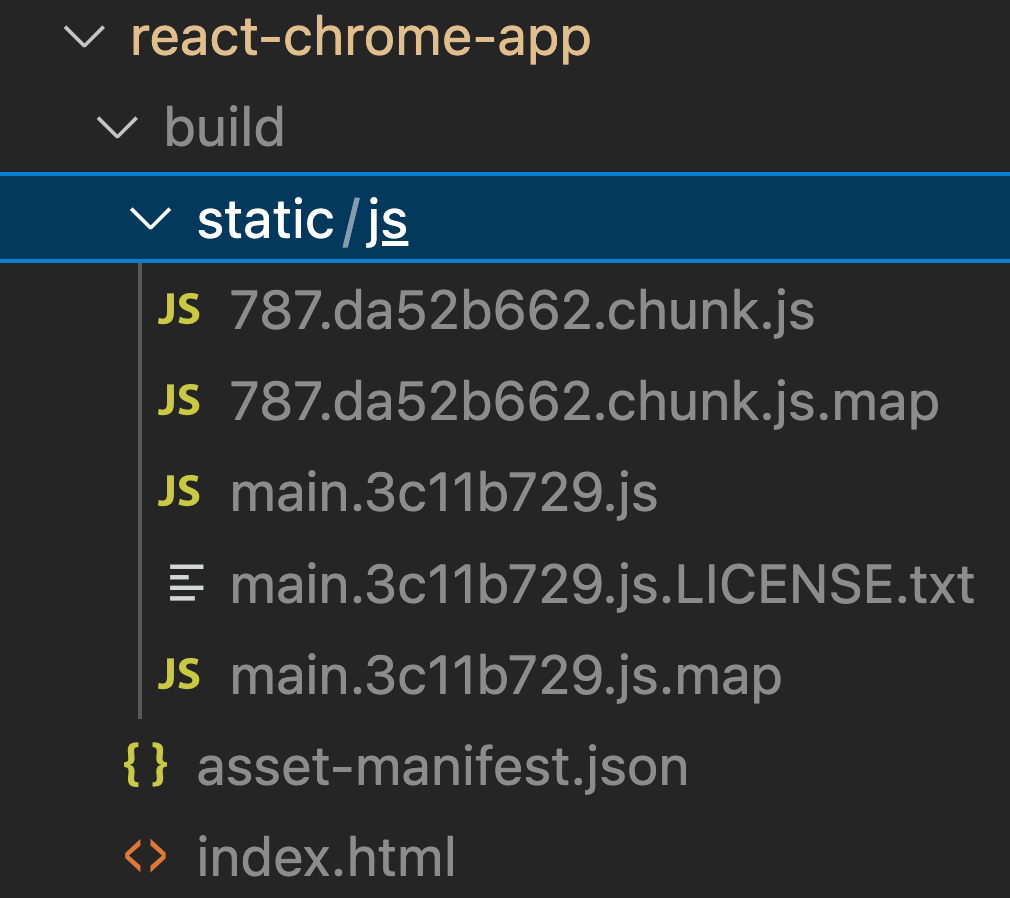
The
main.3c11b729.js
file is our entry file and includes a generated hash in the filename. In the generated
index.html
the main file will be loaded:

What we now want to do is not load the main file from the
index.html
but within our Chrome extension as a content script.
Notice that our build also contains a chunk file that is loaded by the main file. Putting many JavaScript files with
hashes in their filename into our
manifest.json
is not the best solution. Therefore we will set up Webpack to create a single JavaScript bundle for our app.
Set up Webpack
First of all, we need to install webpack. We can do this by running:
yarn add -D webpack ts-loader webpack-cli
or
npm i -D webpack ts-loader webpack-cli
Then, we can create a
webpack.config.js
file:
We tell Webpack that our entry point is the
index.tsx
file and that we want to bundle everything into one
content.js
file. Finally, we define the path of our bundled Javascript file to be our directory of the Chrome Extension.
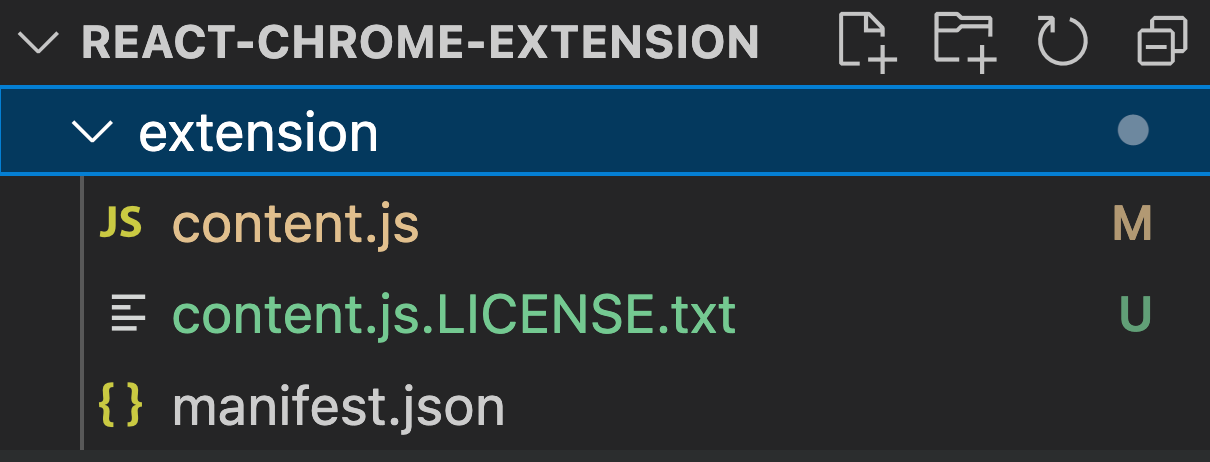
Now, if we run
yarn build
you should see that the
content.js
file overrides our existing content script inside our
extension
folder:
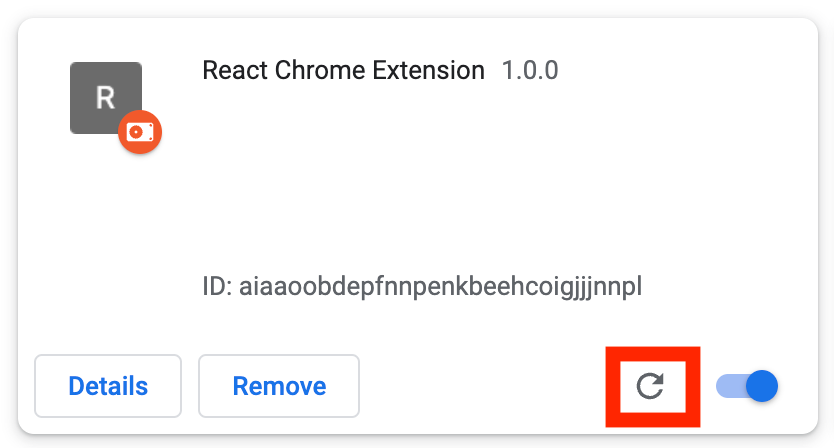
Now, we can go ahead and re-load the extension to apply our changes.
When navigating to any webpage, we should see our React application showing up on the left side of the screen:
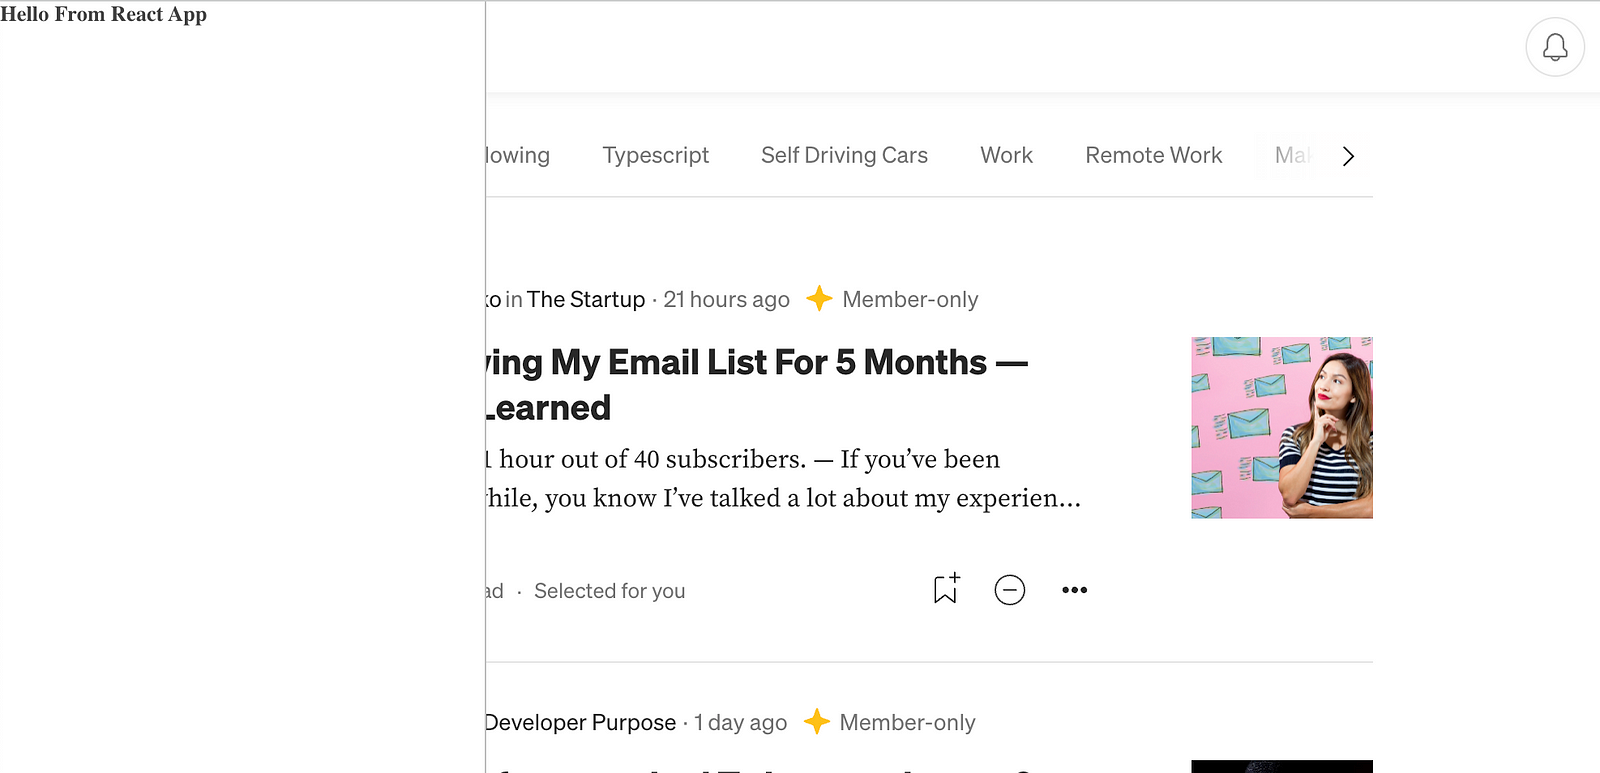
Admittedly, this is still not a cool Chrome Extension. But now that we’ve successfully integrated our React app into a Chrome extension, you can build any app of your choice with React that runs on any webpage.
You can find the code of this article in this GitHub repository .
Final Thoughts
Building your own Chrome Extension is easier than you might think. Once it's set up properly, you can use React to create anything you want. Designing your own extension can be a lot of fun, giving you the freedom to let your creativity flow.
I hope you enjoyed reading this article. I am always happy to answer questions and am open to criticism. Feel free to leave a comment or contact me at any time! Get in touch with me via LinkedIn or Twitter .
Also, if you haven’t, check out my online highlighter Chrome Extension . With Web Highlights , you can highlight on any webpage or PDF, create Tags and take Notes. Check it out! 😊

Looking for Productivity Tools?
At Tooltivity , we review the top productivity browser extensions. Read our detailed reviews here: