Build Your Own Custom Chrome History Extension with React: Part 2
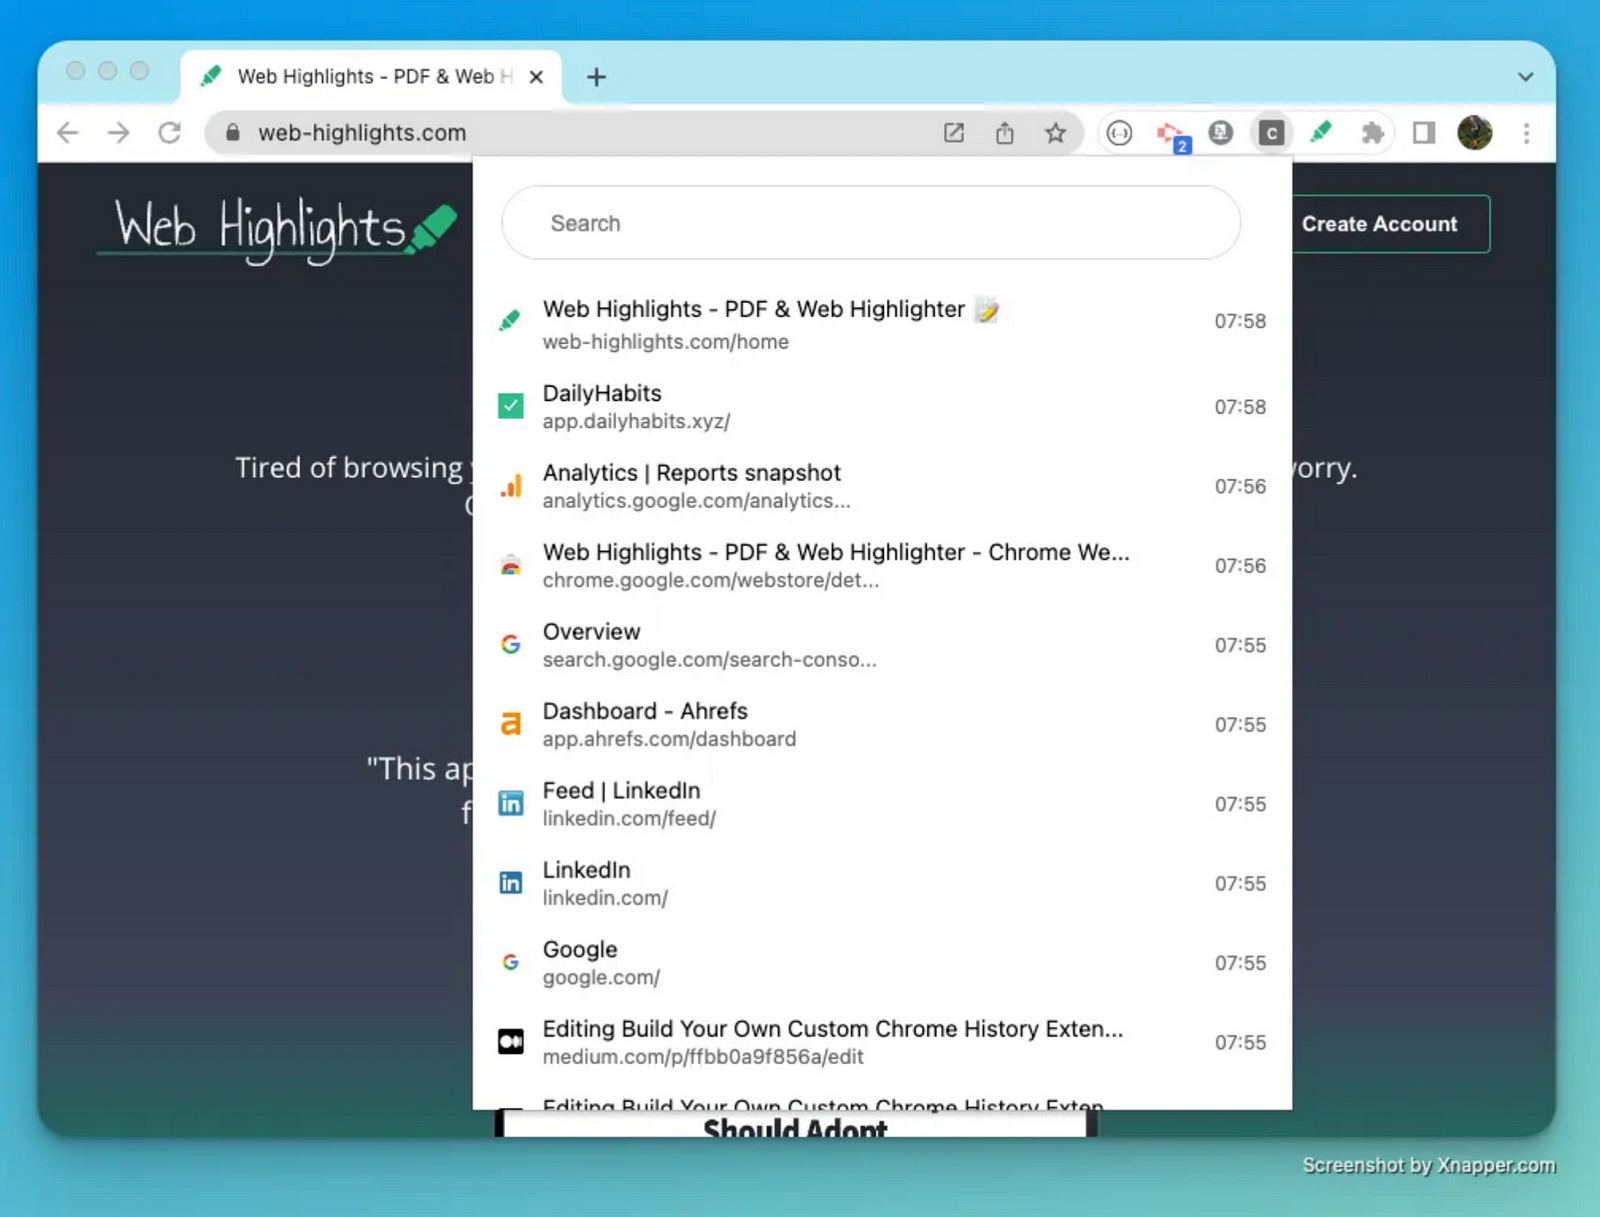
In this series of articles, I will walk you through creating your own browser history Chrome extension using React. We
will use the
Chrome History API
to read and display our browser history in our personalized React dashboard.
In the first part, we learned how to set up a Chrome extension using React and Webpack. The setup from Part 1 is our
ground base to continue with the
Chrome History API
integration. Therefore, check out the first article if you haven’t:
Before we start, we need to configure Typescript to give us autocompletion for the chrome APIs.
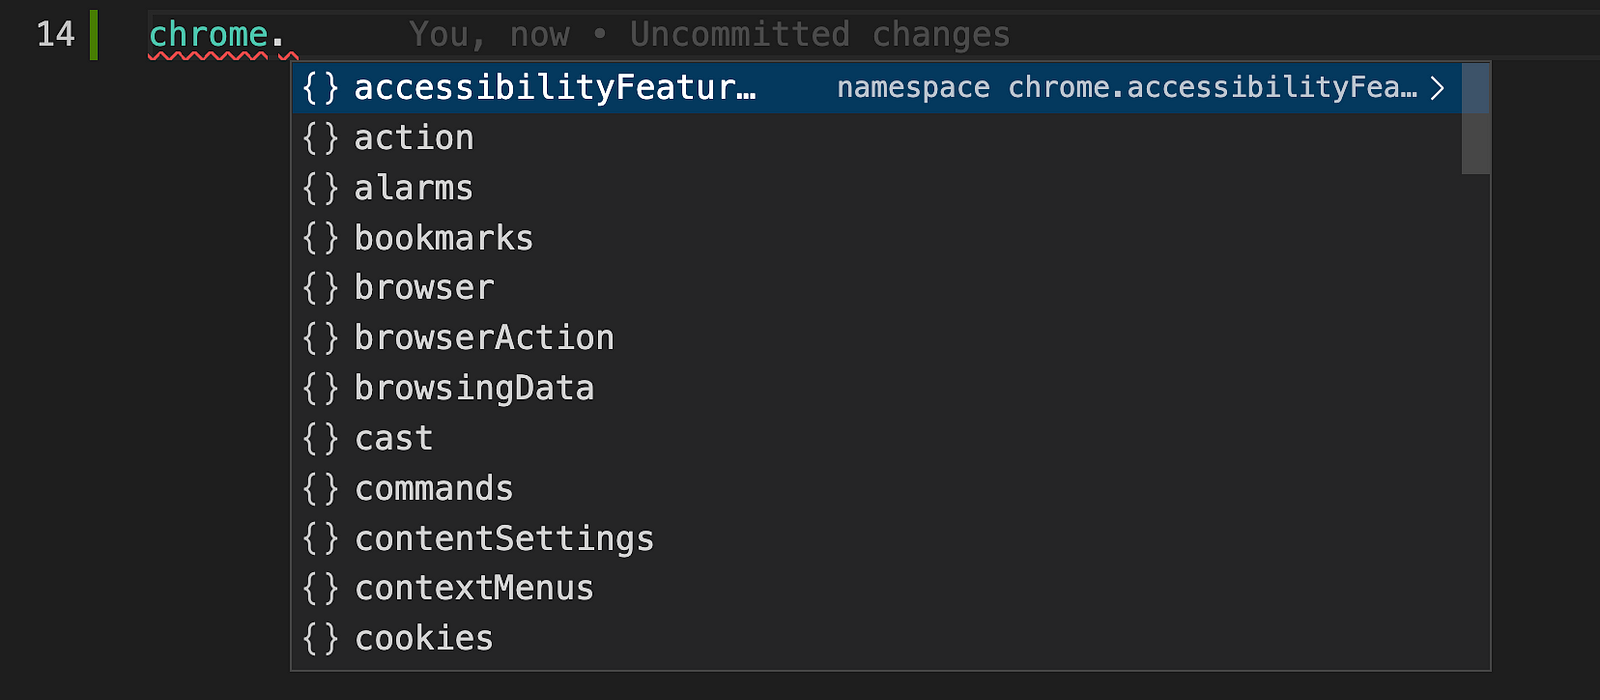
Try it yourself and type
"chrome.”
into your IDE. Usually, you should not see any autosuggestions.
Therefore, you need to install the typings for the chrome APIs to access them. You can do this by running:
yarn add -D @types/chrome
Now, you need to add this into the
tsconfig.json
file:
This file contains hidden or bidirectional Unicode text that may be interpreted or compiled differently than what appears below. To review, open the file in an editor that reveals hidden Unicode characters.
Learn more about bidirectional Unicode characters
Finally, you should get autosuggestions from your IDE:
Chrome API Typescript suggestions
Chrome History API
Our goal is to show the browser history in our dashboard. For that, we need to access the
Chrome History API
. Having our types configured, we should get autocompletion when typing
window.history
. To get started, let’s create a search query to get the ten latest entries in our browser history. We can do this by
calling it inside our
Dashboard.tsx
component:
This file contains hidden or bidirectional Unicode text that may be interpreted or compiled differently than what appears below. To review, open the file in an editor that reveals hidden Unicode characters.
Learn more about bidirectional Unicode characters
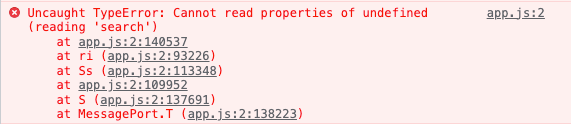
Uncaught TypeError: Cannot read properties of undefined (reading ‘search’)
We get an error because
window.history
is
undefined
. That’s because we don’t have permission to use it yet. To fix this, we need to add it to our
permissions
array inside our
manifest.json
:
This file contains hidden or bidirectional Unicode text that may be interpreted or compiled differently than what appears below. To review, open the file in an editor that reveals hidden Unicode characters.
Learn more about bidirectional Unicode characters
Before we show those entries in our dashboard, let’s make the history search call more accessible by providing a more
straightforward interface using a custom React hook.
Let’s create a
useChromeHistorySearch
hook that executes a history search query with the provided
HistoryQueryObject
and sets the
historyItems
in a state, once the query finishes:
This file contains hidden or bidirectional Unicode text that may be interpreted or compiled differently than what appears below. To review, open the file in an editor that reveals hidden Unicode characters.
Learn more about bidirectional Unicode characters
Having this helper hook makes it easier to handle the asynchronous
chrome.history.search()
function within our components.
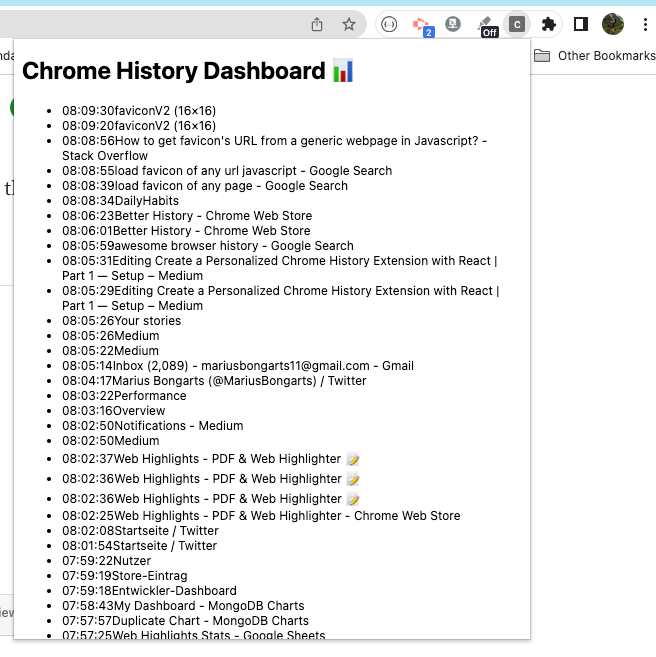
Now, finally, let’s show those entries in the frontend.
Display Browser History
Now that we can get our data, let’s show it in our browser. We will build three components for this. The
Dashboard.tsx
component will use the
useChromeHistorySearch
hook to pass the data to our
History.tsx
component.
This file contains hidden or bidirectional Unicode text that may be interpreted or compiled differently than what appears below. To review, open the file in an editor that reveals hidden Unicode characters.
Learn more about bidirectional Unicode characters
Our
History.tsx
component simply takes in an
items
array containing the chrome browser history entries to be shown. Now we iterate over those and show them in an
unordered list like this:
This file contains hidden or bidirectional Unicode text that may be interpreted or compiled differently than what appears below. To review, open the file in an editor that reveals hidden Unicode characters.
Learn more about bidirectional Unicode characters
For each
item
we render a
HistoryItem
which is another component that renders the item’s information which looks like this:
This file contains hidden or bidirectional Unicode text that may be interpreted or compiled differently than what appears below. To review, open the file in an editor that reveals hidden Unicode characters.
Learn more about bidirectional Unicode characters
That’s already great. Now let’s make it look a little better.
Add Styles
To apply styles to our components, we will use the
styled-components
library that lets us write CSS inside our Typescript components.
This means you can use all the features of CSS you use and love, including (but by far not limited to) media
queries, all pseudo-selectors, nesting, etc. —
styled-components.com
Now, we can customize our unordered list like this:
This file contains hidden or bidirectional Unicode text that may be interpreted or compiled differently than what appears below. To review, open the file in an editor that reveals hidden Unicode characters.
Learn more about bidirectional Unicode characters
This will remove the list dots on the left and also removes some margin and padding. We can use this list in our
template like this:
Furthermore, we will style the
date
of each entry to make its font color light grey, and we will have a title and a link to the URL:
This file contains hidden or bidirectional Unicode text that may be interpreted or compiled differently than what appears below. To review, open the file in an editor that reveals hidden Unicode characters.
Learn more about bidirectional Unicode characters
We can use the styled components like this in our template:
This file contains hidden or bidirectional Unicode text that may be interpreted or compiled differently than what appears below. To review, open the file in an editor that reveals hidden Unicode characters.
Learn more about bidirectional Unicode characters
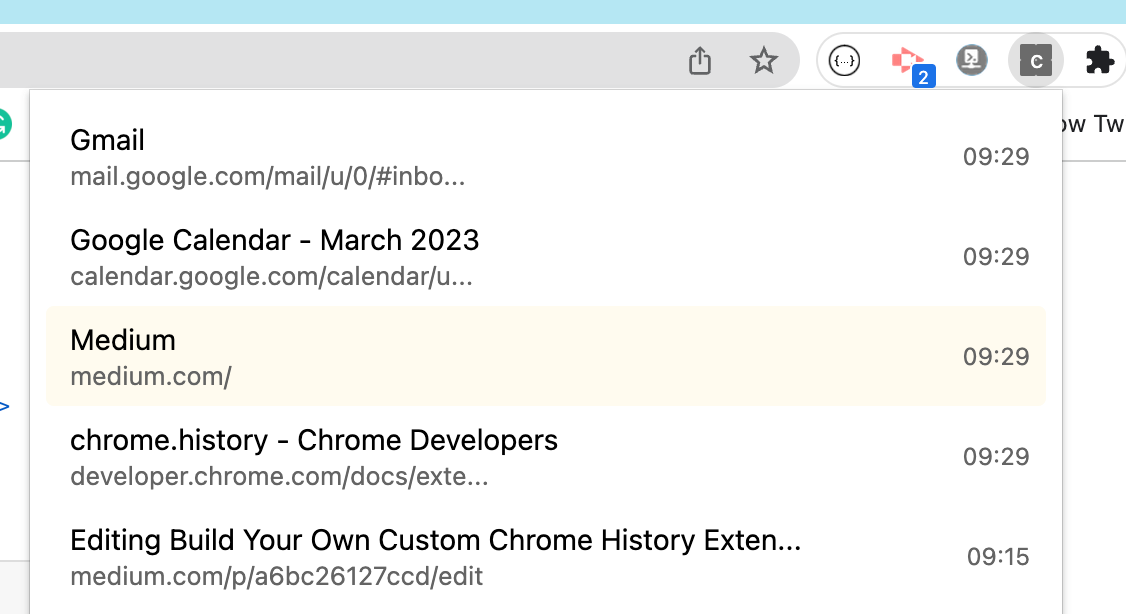
Those will give our history list some basic styles to make it look like this:
History Extension with styles
Add Favicon icons
Now, let’s improve the design of our
HistoryItem.tsx
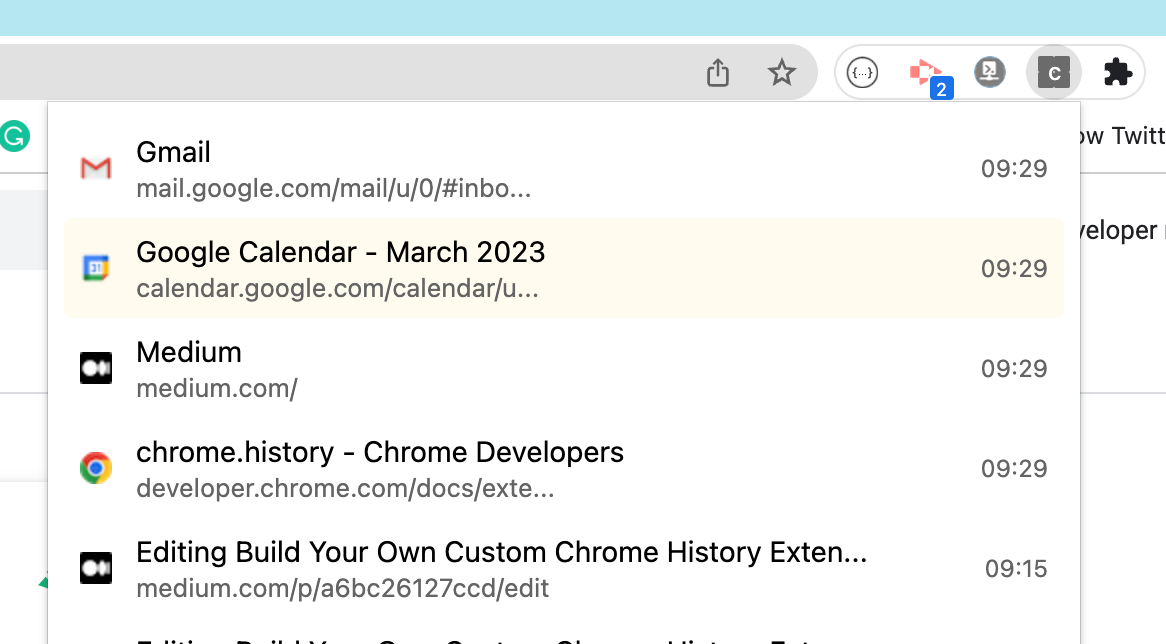
file a bit more. To make it look better, we will be add a favicon to our history list items. We can do this by using a
Google API that automatically pulls the favicon image of any URL.
We simply replace the
url
parameter to be the history item’s
url
and pass it to an image like this:
This file contains hidden or bidirectional Unicode text that may be interpreted or compiled differently than what appears below. To review, open the file in an editor that reveals hidden Unicode characters.
Learn more about bidirectional Unicode characters
I would say that our extension already looks very good. We have successfully integrated the Chrome History API to show
the recently visited pages in our dashboard. Also, we applied some styles to make it look a little better.
In the next part, we will take care of displaying the extensive list of history items efficiently using lazy-loading.
We will also integrate a search bar to search for specific entries in our browsing history.
I hope you enjoyed reading this article. I am always happy to answer questions and am open to criticism. Feel free to
contact me at any time! Get in touch with me via
LinkedIn
,
Twitter
, or leave a comment.